Table of Contents
Everyone wants a single answer to the question: “How long does a calibration take?” But the honest answer is: it depends. However, there is more to this answer.
There are real, defensible time ranges for static, dynamic, and combo procedures and also clear variables that push those ranges in either direction. There’s a significant gap between how long a calibration should take and how long it is taking in most shops. The gap has less to do with the procedure itself than with everything involved around it.
That gap matters for throughput, as slower throughput is fewer serviced vehicles, thinner margins, and less room for error in an industry that already doesn’t have a lot of margin to spare. Also, if a job is rushed or underdocumented because of time constraints, you’re carrying liability exposure on top of it.
What "normal" calibration time actually looks like
ADAS calibration time varies by method before it varies by anything else.
Static calibrations
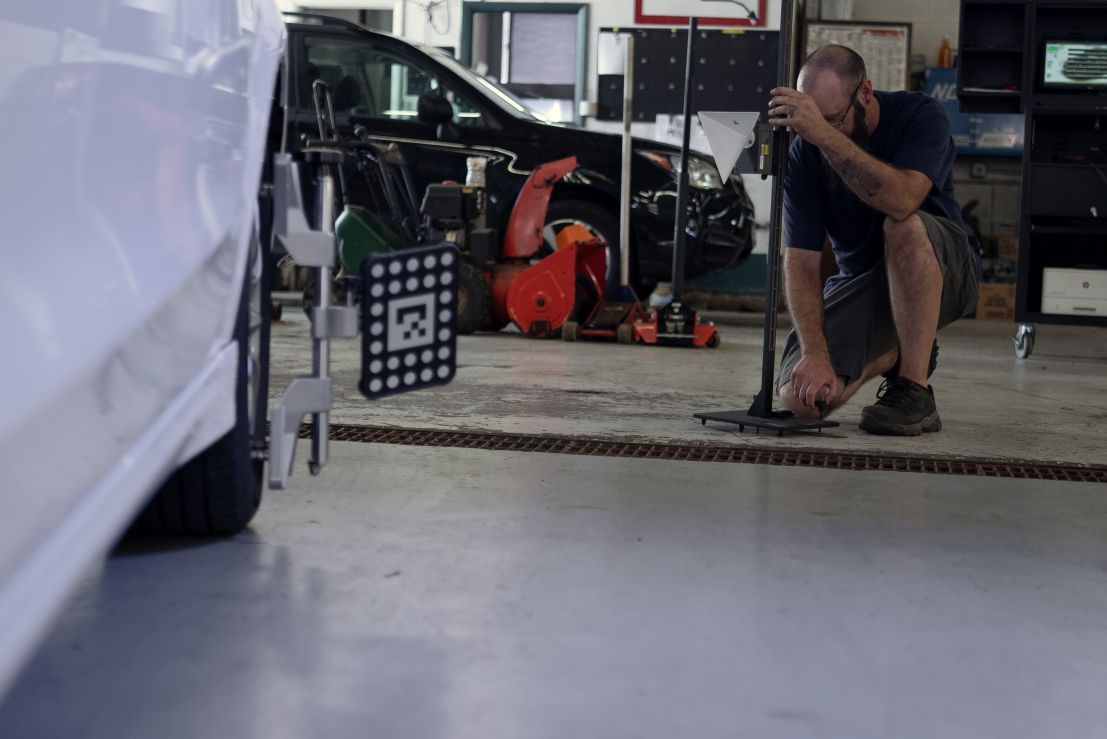
Static calibrations are setup-heavy by design with positioned targets, precise measurements, controlled environment, and procedure execution that doesn’t tolerate shortcuts. A single-system static calibration typically runs 1-2 hours from setup to post-scan verification. Multi-system jobs like front cameras, rear radars, and surround view on the same vehicle can compound and push past 3 hours.
Dynamic calibrations
Dynamic calibrations trade controlled setup for road conditions and the procedure is often shorter. Here however, you’re dependent on OEM-specified speed ranges, road types, and even the weather. You can expect up to an hour or more, though that range changes fast if road conditions don’t confirm on the first pass.
Dual/combo procedures
Where a vehicle requires both static and dynamic calibrations, the timelines stack accordingly. Overall, you should budget 2-4 hours for complex, multi-system vehicles, and that’s assuming everything cooperates the first time.
A few variables will shift these numbers even within what is considered “normal”:
- OEM and system complexity - a Honda Multipurpose Camera calibration and a Multi-Camera Surround View Calibration are not the same job
- Number of systems triggered - Forward Collision Warning (FCW), Lane Departure Warning (LDW), Adaptive Cruise Control (ACC), Autonomous Emergency Braking (AEB) might calibrate at the same time, but all involve sensors that are exclusive to those features
- Vehicle trim and configuration - the same model year can require different procedures depending on installed packages
One important thing to note: these ranges assume your shop already has the correct OEM specs, the proper target setup, adequate space, and no parts delay. If any of those aren’t in place, you’re not in “normal” territory.
The variables that push calibration time up (or down)
The procedure itself is usually not where time gets lost. These are the variables that compress or stretch a calibration cycle.
- Pre-scan/post-scan and DTC resolution - walking into a calibration with unresolved codes means either resolving them first or failing the calibration and starting over. Unresolved DTCs before the procedure is one of the most common causes of redo time.
- Target setup and measurement precision (static) - a few centimeters off on target placement and the system won’t accept the calibration. Setup precision is non-negotiable, but it’s time-consuming when techs are working from memory or incomplete spec sheets.
- Environmental requirements - lighting, floor levelness, ceiling height, and ambient temperature all carry OEM tolerances. A shop that doesn’t meet them performs slow, and failed, calibrations.
- Road and weather conditions (dynamic) - high traffic, poor weather, or unavailable road types can delay a dynamic calibration by hours, especially for OEMs that require highway-speed passes.
- OEM portal and software access - subscription lapses, slow logins, and navigating multiple portals to confirm procedure requirements all burn time before the job even starts.
- Parts quality and prior repair condition - misaligned or poorly fitted parts cause failed calibration. If you’re recalibrating because an earlier repair step wasn’t right, then you’re servicing the same vehicle twice.
- Tech familiarity with the specific OEMs - there’s no universal calibration workflow. A tech who knows Honda Sensing doesn’t automatically know how to run a RAM active cruise calibration. Procedure familiarity is a direct input into cycle time.
Signs your calibration is taking longer than it should
Run through this against your own shop. These are diagnostics and not just hypotheticals.
Repeated failed calibration attempts on the same vehicle
One failure is a problem, but two or more on the same job typically point to an upstream issue such as a DTC that wasn’t resolved, faulty sensor/component, a parts alignment problem, or a misread spec. Each failed attempt is a full cycle of time that goes uncompensated.
Tech cross-referencing multiple OEM portals
If the first step before any calibration is a 20-minute research session across manufacturer databases to see what needs calibration, that time loss compounds across every job. The root cause is that your shop doesn’t have a fast and reliable way to confirm VIN-specific calibration requirements before the vehicle enters the bay.
Documentation built by hand after the job is done
After-the-fact documentation is slower, more prone to errors, and creates a gap in the record if something is forgotten. If your techs are reconstructing what they did once the vehicle is already out, then you’re adding time and liability to every completed job.
Uncertainty about whether a system requires calibration at all
“Does this vehicle need calibration?” is not a question that should eat 30 minutes per vehicle. Uncertainty about calibration requirements, particularly on vehicles with optional ADAS packages that vary by trim, is a research problem and not a calibration problem.
The pattern across all four diagnoses: most of the excess time isn’t being spent doing calibrations, but rather, spent figuring out what to do, confirming it’s right, and documenting that it was done.
Where the time really goes (and how to get it back)
Calibration procedure is rarely the bottleneck, the research, verification, and documentation wrapped around it tends to be the source of wasted time.
A stactic front-camera calibration takes what it takes and OEM procedure is OEM procedure. But the 45 minutes a tech spent before that procedure started confirming what was required, and the 20 minutes after building the documentation are addressable.
Shops that front-load requirement verification eliminate the mid-job research detour. The procedure starts with a confirmed target list instead of a guess. This removes failed calibrations tied to missed systems, reduces DTC surprises, and gets the vehicle into the bay with a clear action plan.
On the back end, documentation that builds alongside the job rather than after it closes the paperwork delay without adding a separate step. Pre-scan results, procedure confirmation, post-scan validation should be captured in real-time, formatted for insurance and liability requirements, ready when the job is done rather than after it.
This is what Revv is built to do. VIN lookup that surfaces current OEM requirements removes the guesswork before the job starts with auto-generated OEM-compliant documentation removes the after-job scramble. This clears time for the tech to focus on the calibration itself.
A practical way to benchmark your own shop
If you want to know where your shop’s calibration time is actually going, track it in four phases for a period of time:
- Research and verification
- Setup
- Procedure
- Documentation
Most shops that run this exercise find the same thing: phases 1 and 4 eat more time combined than phases 2 and 3. The calibration itself is moving efficiently but the work around it isn’t.
This is a workflow and tooling problem, which are easily fixed. Knowing exactly where your time is going is the first step to getting it back.
How Revv is built to help
There’s no single right answer to “how long should calibration take?” as there a re many variables. But there is a right answer to where your time should be going: into the procedure, not into confirming what the procedure is.
If your cycle times are longer than they should be, the gap is likely in the research-to-documentation loop. Revv closes that loop with VIN-specific OEM requirements before the job and auto-generated documentation throughout it. With Revv, your techs spend their time doing calibrations, not research and paperwork.
Set up a call to see how Revv works.