Table of Contents
Calibration demand is growing quickly. ADAS calibrations were included on 28.3% of estimates in 2025, an increase of 6.5% in just one year. Collision shops, mobile calibration providers, and dedicated calibration centers all have an opportunity to capture more of that work, provided their processes can keep up.
Documentation is one of the most visible operational strains preventing shops from taking on more work. It’s easy to see why. More calibration jobs mean more vehicle details, scans, measurements, photos, OEM procedures, and final reports to capture and organize.
The good news is that you can increase throughput safely. To do so, you need a proper ADAS workflow that makes accurate documentation faster and more consistent at every stage.
Find where documentation is slowing you down
Before trying to fit more calibrations into the schedule, determine where your team is losing time.
It may be spent:
- Searching for current OEM procedures
- Entering vehicle information into multiple systems
- Renaming scan reports
- Matching photos to the right repair order
None of these tasks look like a serious problem on a single job. An extra 10 or 15 minutes here and there is easy to absorb. Across 10 or 20 vehicles per day, however, those small delays can consume hours that could have gone toward additional calibrations.
Map the process from the initial estimate through invoicing. Record every point where someone must search for information, enter the same details again, or request something that should already be available.
Doing this will reveal whether the bottleneck is the calibration itself or the administrative work surrounding it.
Surface calibration requirements before work begins
Nothing eats up time like getting a vehicle into the bay and then realizing you’re missing the procedures, measurements, or other job details required to complete the calibration safely and in line with the requirements.
During estimating and repair planning, identify which ADAS systems are on the vehicle, what triggered the calibration, and exactly what the OEM procedure calls for. That includes:
- Required tools
- Targets
- Measurements
- Floor space
- Lighting
- Road conditions for dynamic calibrations
Knowing all of this upfront helps you schedule the right tech, reserve the right calibration equipment, and avoid tying up a bay while someone tracks down missing information.
You also can’t assume two vehicles need the same work just because they’re the same year, make, and model. Different trims and build configurations can have completely different ADAS requirements. That’s why it’s important to pull the latest OEM procedures instead of relying on instructions saved from a previous job, since requirements can change.
Building the full calibration scope into the estimate and work order from the start means your technicians can get straight to work without scrambling for information mid-job.
Standardize what you document on every job
Technicians shouldn’t have to decide from scratch what evidence to capture for each vehicle. Create a minimum documentation standard covering the information required on every job.
That standard may include:
- Vehicle identification and repair order details
- The repair or operation that triggered the calibration
- Current OEM procedures and position statements
- Pre-scan and post-scan results
- Vehicle preparation and setup measurements
- Target placement and equipment setup
- Required environmental conditions
- Calibration results
- Supporting photos
- Technician notes, timestamps, and exceptions
The exact requirements will vary, of course. A forward-facing camera calibration, for instance, won’t require the same evidence as a blind-spot monitor or steering-angle sensor calibration.
It’s a good idea to have separate checklists for common calibration types, which can guide technicians without adding unnecessary steps to every job.
Capture proof as the work happens
If you reach the end of the day with several completed calibrations still waiting to be documented, your process needs work. Documentation is always more accurate and less time-consuming when you capture it during the job instead of trying to reconstruct everything afterward.
Before starting calibration:
- Confirm the VIN
- Calibration requirement
- Applicable OEM procedures
- Add the pre-scan
- Photograph relevant repair areas
- Record the vehicle’s initial condition
During setup:
- Capture measurements
- Target positioning
- Equipment placement
- Lighting
- Floor conditions
- Other details required by the OEM
Failed attempts, interruptions, or conditions that prevent completion should also be recorded immediately. These notes may explain why additional work or a second attempt was necessary.
After calibration:
- Save the results
- Perform the post-scan
- Add final notes
- Verify that every required item is present before closing the job
Connect your ADAS workflow from start to finish
If you want to fit more calibrations into the day, your technicians can’t lose time moving information between disconnected systems.
When estimating, OEM research, calibration, claims, and billing all happen in different places, someone has to copy vehicle details between platforms, rename files, match scan reports to the right RO, and chase down photos or notes after the work is finished.
Those extra handoffs slow down every job and make it easier for important documentation to be attached to the wrong vehicle or left out altogether. As calibration volume increases, the problem only gets harder to manage.
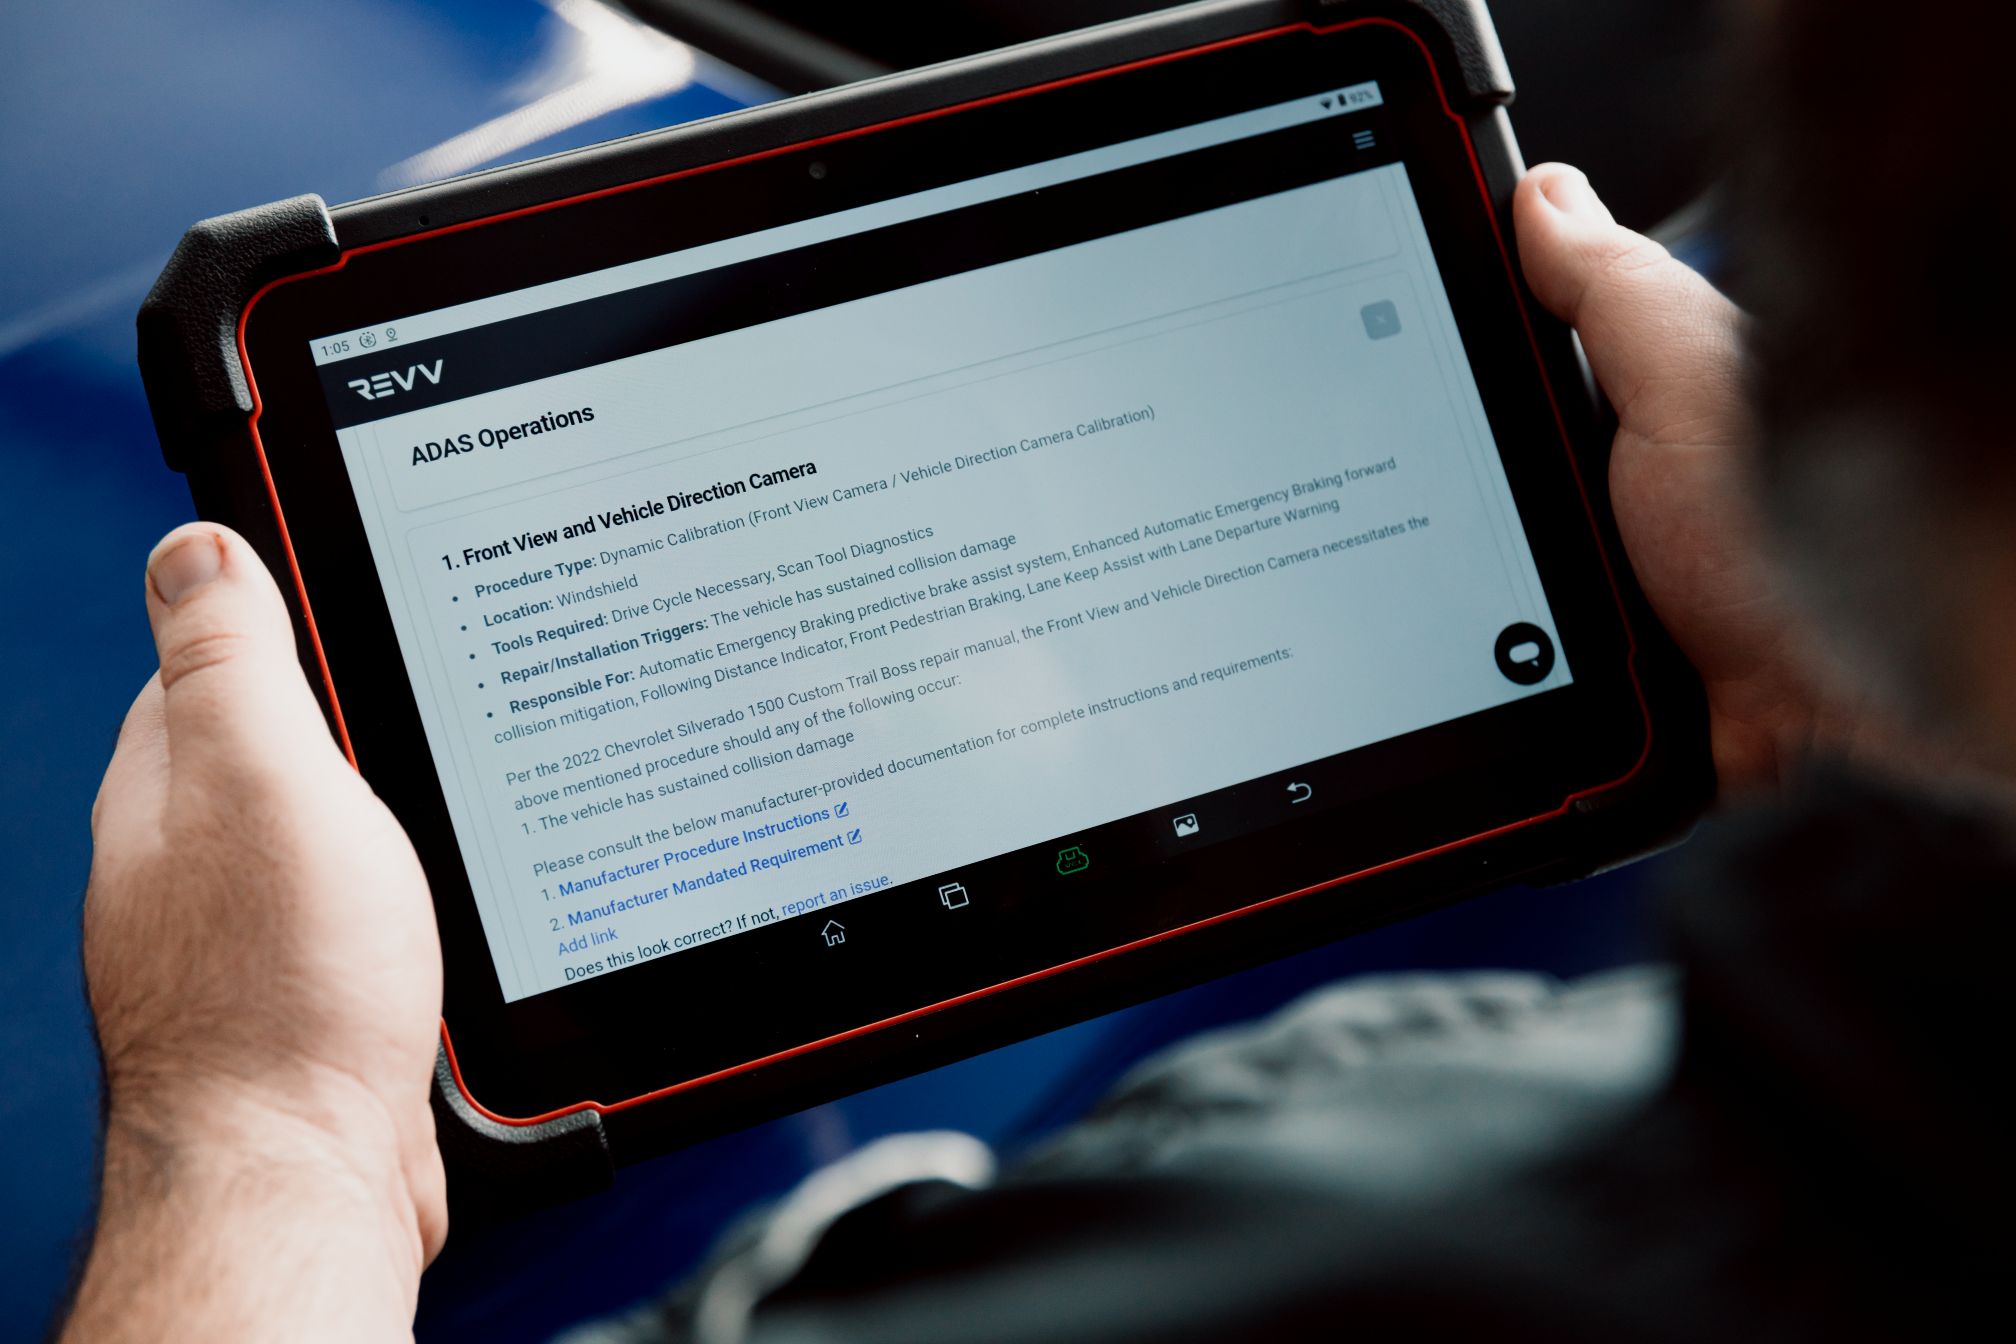
With an AI-powered ADAS platform like Revv, you can keep the whole job connected in one workflow. It helps you identify required calibrations, pull the latest OEM requirements, and keep scans, photos, measurements, results, and technician notes together. That means less time spent on manual research, copying information between systems, or rebuilding the documentation after the calibration is complete.
Essential Auto shows what this can look like in practice. After adopting Revv, the Ontario-based calibration center reduced the time spent finding calibration requirements from up to 60 minutes per vehicle to just two seconds and now processes more than 300 ADAS repairs per month.
Good documentation helps with reimbursement speed
More calibrations through the door don’t mean much if you’re spending hours trying to get paid for them.
The calibration may be finished, and the vehicle may already be gone, but the job can still come back when an adjuster questions a line item. According to our benchmark study, this happens often, with 77% of shops reporting insurer pushback over ADAS calibration charges.
A clear invoice is important, but it may not tell the whole story. Insurance also needs the OEM procedure, scans, setup photos, measurements, and calibration results to show why the work was required and that it was completed correctly.
The stronger the file is when it first goes out, the less (unpaid) time you’ll spend answering questions or resubmitting paperwork. Doing paperwork properly the first time ultimately helps you protect the profit on every calibration you complete.
How Revv helps you take on more calibration work without letting document quality slip
Revv is built for the full calibration lifecycle, from identification through reimbursement, helping you:
- Identify required calibrations at the as-built level and surface the latest OEM procedures before work begins.
- Automatically generate calibration reports from line items in CCC, Mitchell, or Audatex, with reports updating as the repair scope changes.
- Track and document every job in one workflow, with each vehicle operation mapped and organized so you can see what’s in progress, what’s stuck, and why.
- Turn photos, scan reports, OEM procedures, and technician notes into one clear, insurance-ready claim summary, without manually searching for and piecing together the evidence.
Book a demo to see how Revv can help you fit more calibrations into your schedule while keeping every job properly documented.