Table of Contents
When it comes to ADAS repairs, two terms come up constantly: diagnostic scanning and calibration. They’re often mentioned in the same breath, sometimes used interchangeably, and frequently performed by the same technician in the same workflow.
Although both are essential parts of restoring a vehicle after a collision, they serve completely different purposes. And despite how common ADAS technology has become, the distinction between the two is still widely misunderstood across the industry. The biggest misconception? That a clean scan is enough to confirm a vehicle's safety systems are functioning correctly. In most situations, it’s not.
As a collision repair shop, you have a responsibility to return every vehicle to a fully functioning condition. That requires knowing exactly what each process does and when both are necessary. So what's the difference between a scan and a calibration, and why isn't one enough on its own?
What is an ADAS scan?
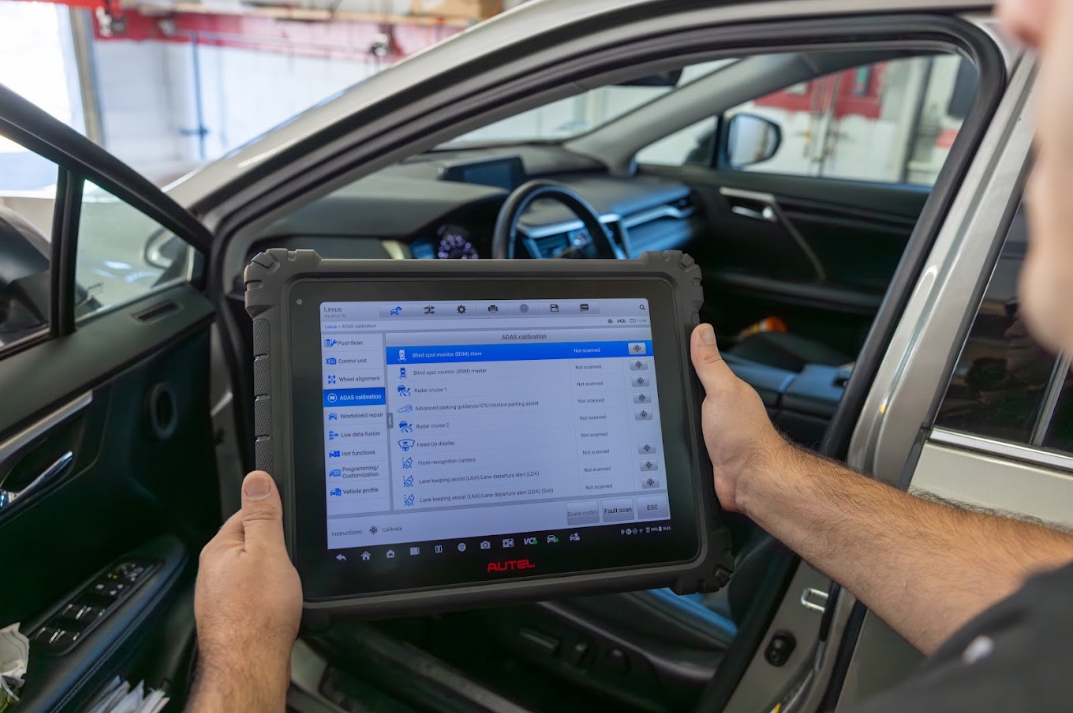
An ADAS scan is a diagnostic process. It communicates with the vehicle's control modules and returns a report of fault codes.
Shops use scans at two points in the repair process:
- A pre-repair scan happens at intake, before teardown begins. It captures existing DTCs, surfaces faults in systems that may not have triggered a dashboard warning light, and establishes the baseline documentation that anchors your entire repair file. It should happen on every vehicle, at drop-off, before any work starts.
- A post-repair scan happens at completion. It confirms that the DTCs identified in the pre-scan have been addressed, verifies no new faults were introduced during the repair, and closes out the electronic quality check.
What is an ADAS Calibration?
ADAS calibration is the process of physically and electronically aligning sensors (cameras, radar units, ultrasonic sensors) to OEM specifications so that driver assistance systems function correctly.
There are usually two types of calibrations:
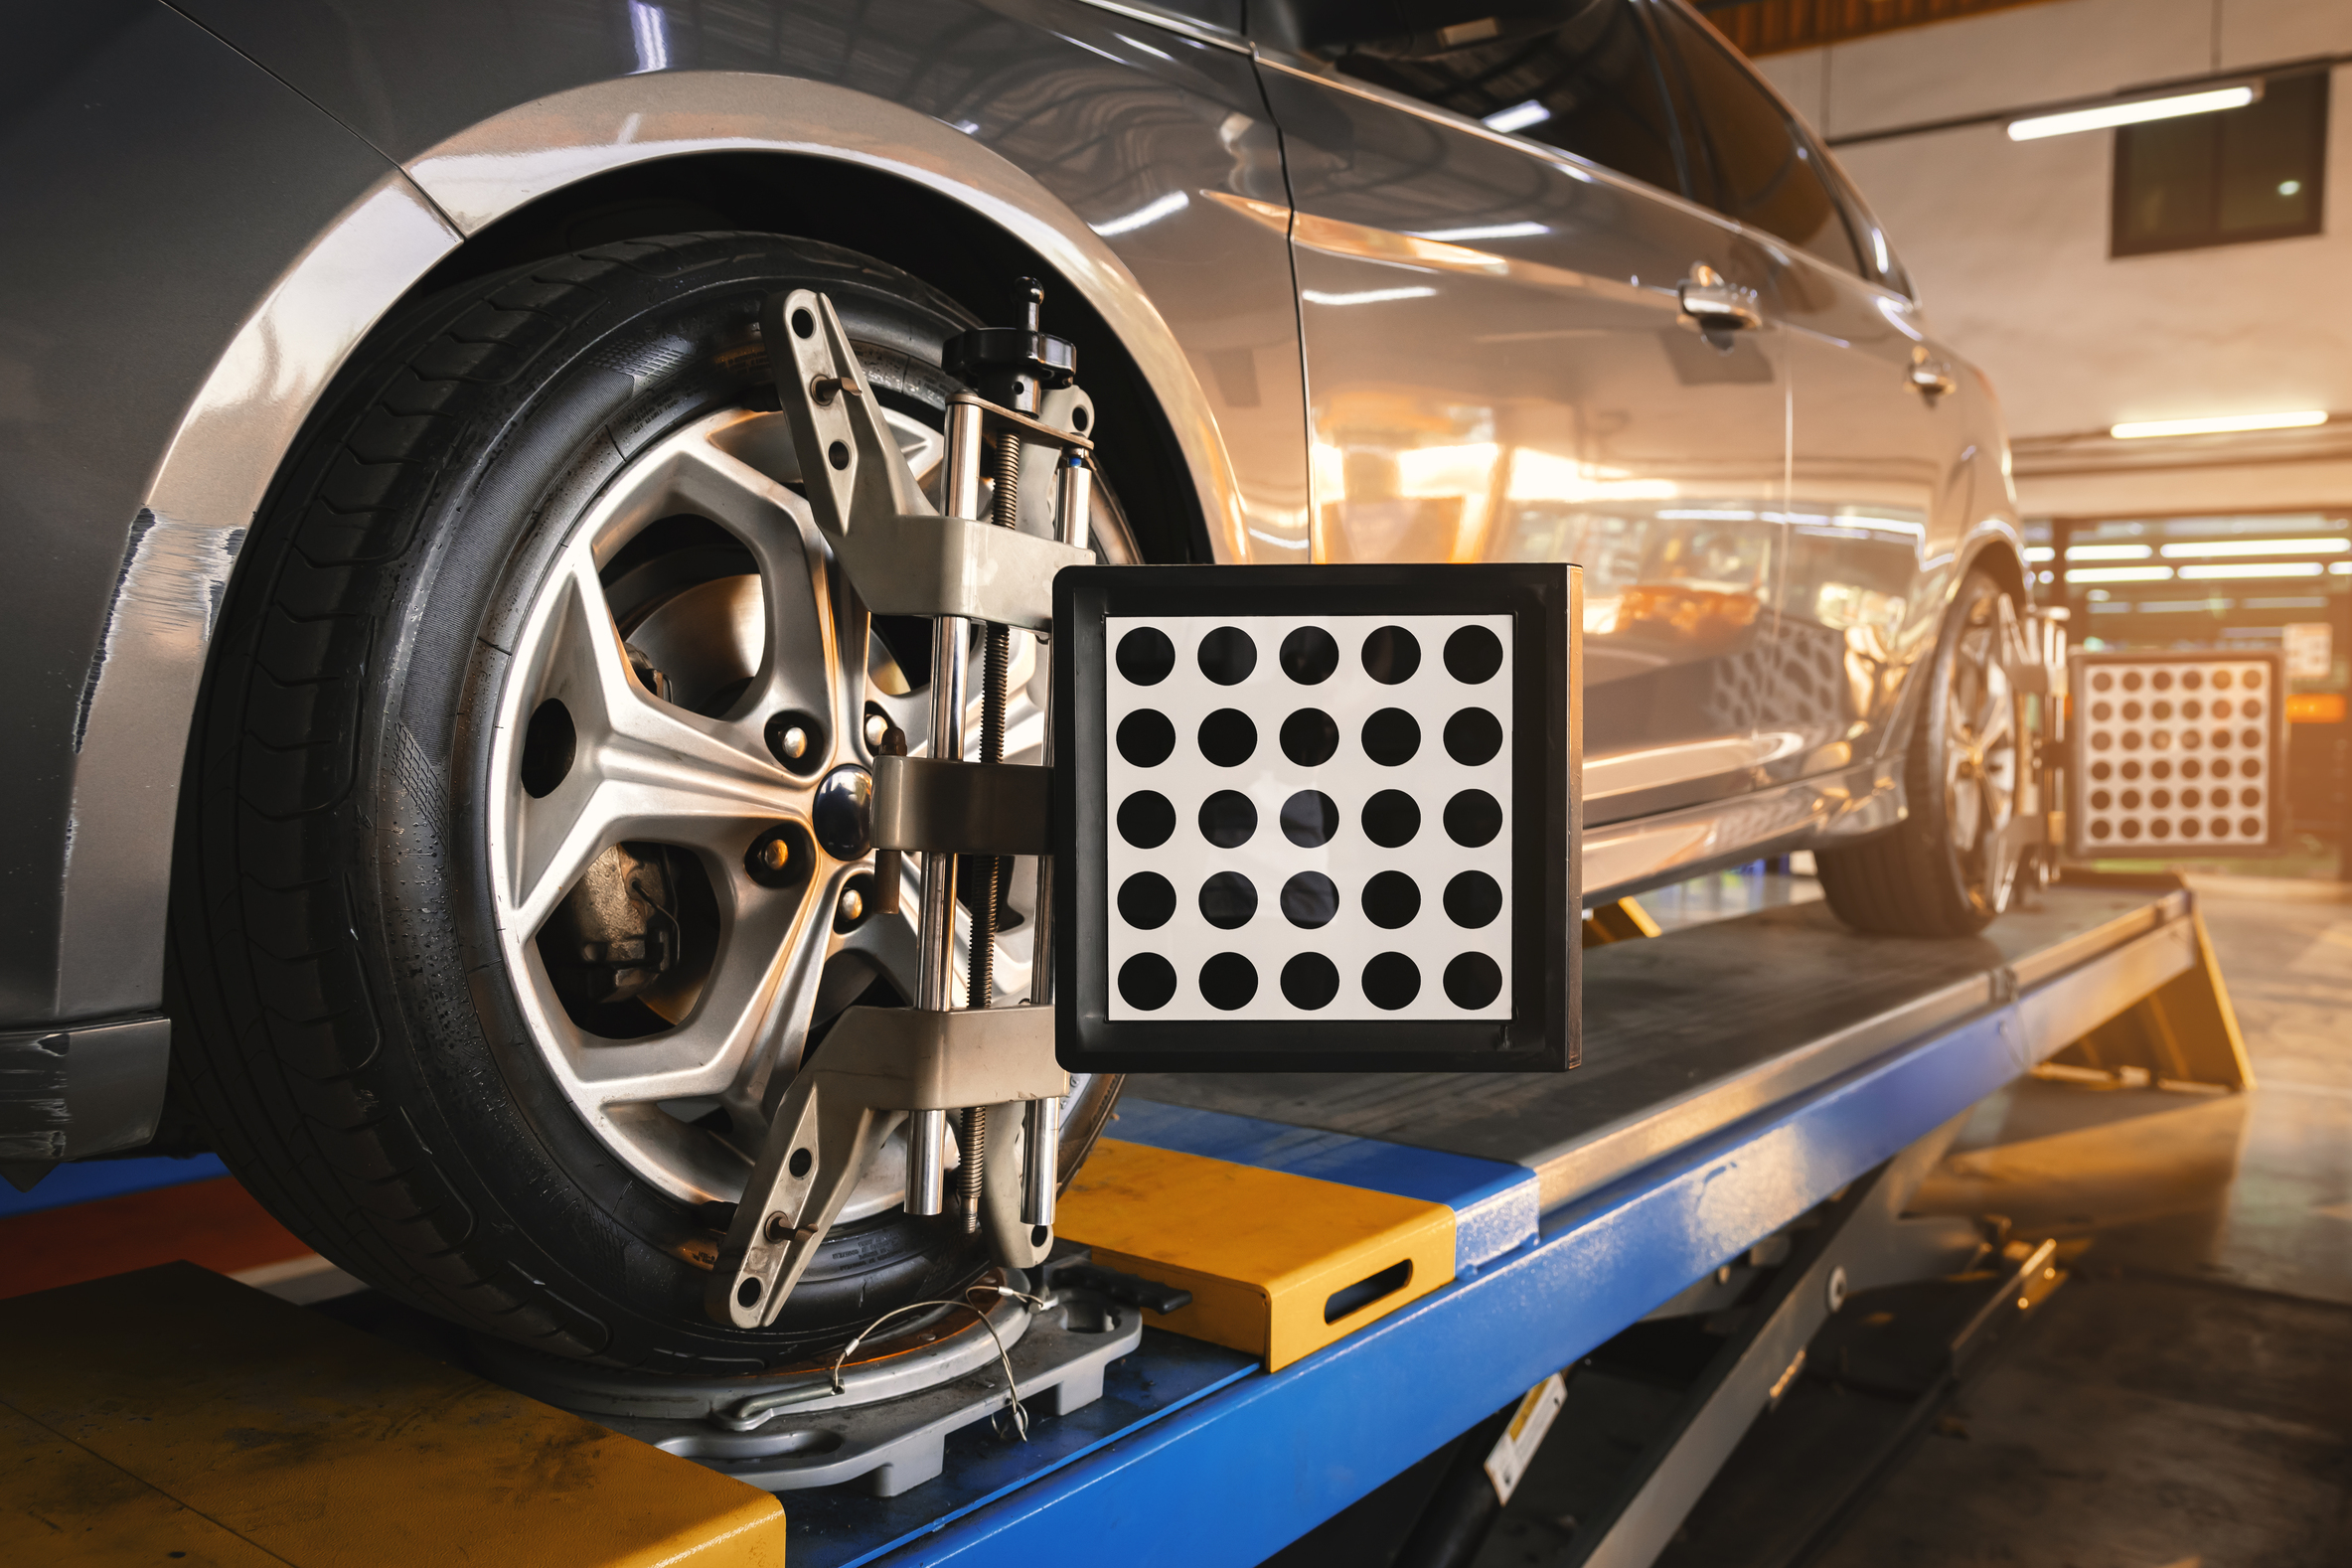
- Static calibration is performed inside the shop. Technicians position the vehicle in front of calibration targets placed at specific distances and angles, and the calibration equipment communicates with the vehicle to align sensors against manufacturer specs. This method requires controlled conditions: a level floor, proper lighting, and accurate measurements between the vehicle and the targets.
- Dynamic calibration is performed on the road. The vehicle is driven at specified speeds under specific conditions while the system collects real-world data and adjusts sensor alignment automatically. Some OEMs require dynamic calibration alone. Others require static first, then dynamic as a confirmation step.
Calibration is the only step in the repair process that can confirm a sensor is accurately aimed, and an ADAS system will perform within spec. A scan can't give you that. Only calibration can.
A scan can't tell you if calibration is required—repairs do
The most important concept to grasp (and where most misunderstandings occur) is that calibration requirements aren’t determined by what the scan shows. They’re determined by the repairs performed and the OEM procedure specified for that vehicle and repair type.
Most calibration triggers produce zero DTCs. A forward-facing camera shifted during a windshield replacement won't necessarily throw a code. The module still communicates. The system may appear fully operational. But the camera's viewing angle is off, and at highway speeds, that matters. The scan clears clean. The calibration requirement is still there.
According to our State of ADAS Calibration Industry Benchmark Report, 44% of vehicles entering shops today carry ADAS systems with active calibration requirements. The majority of those requirements won't announce themselves through a dashboard light or a DTC. They show up in the OEM procedure for that specific VIN and repair, which is why OEM research has to be part of every blueprint, not just the jobs that look complicated.
There's also a cycle time cost to catching it late. The numbers from CCC Intelligent Solutions' Q1 2025 Crash Course report show that scans now appear on 85% of DRP appraisals, while calibrations are only trending toward 30%. And while over 90% of scans are captured on the initial estimate, the majority of calibrations end up on supplements. That means the calibration requirement wasn’t identified at blueprinting. It was caught later, if it was caught at all.
Common repairs that trigger calibration
So which repairs are we talking about?
Calibration requirements vary by vehicle, repair type, and OEM. The only way to know exactly what applies is to pull the procedure for that specific VIN. That said, certain repairs consistently show up as triggers across makes and models:
- Windshield replacement. Forward-facing cameras mounted behind the windshield must be recalibrated after the glass is swapped. This is one of the most common triggers in the industry and one of the most frequently missed.
- Front bumper removal or replacement. Long-range radar sensors for adaptive cruise control sit behind the front bumper. Removing the bumper, even for cosmetic repairs, can shift the sensor's position without anyone touching the radar unit directly.
- Suspension or steering repairs. Changes to ride height or steering geometry alter how sensors read the road environment. ADAS systems depend on precise vehicle geometry to function accurately.
- Wheel alignment. Many OEMs specify recalibration after alignment adjustments. If the vehicle's relationship to the road surface changes, sensor readings may no longer be accurate.
- Sensor or camera replacement. Replacement components have no memory of prior alignment. Calibration is always required.
- Module reprogramming or software updates. Certain OEM-specified programming events require recalibration as part of the procedure.
The right workflow: Scan, identify, calibrate, document
Getting the distinction between scans and calibrations right is only half the equation. The other half is making sure both steps happen at the right point in the repair, in the right order. Here’s what that looks like in practice:
- Pre-scan at intake: Capture baseline DTCs and surface any existing faults before teardown begins. This starts the documentation file and should happen on every vehicle before any work starts.
- OEM research at blueprinting: Pull the procedure for that specific VIN and repair type. This is where calibration requirements are identified, not the scan.
- Calibration requirements on the initial estimate: Build calibration line items into the estimate at blueprinting and before the vehicle is on the lift.
- Calibration after repairs are complete: Perform static, dynamic, or both as specified by the OEM procedure. Setup conditions must meet OEM spec—shortcuts here produce inaccurate results.
- Post-scan at completion: Confirm all DTCs from the pre-scan have been cleared and no new faults were introduced during the repair.
- Documentation package: OEM procedure tied to the VIN, calibration certificate, setup photos, and completion screenshots. This is what gets you paid and what protects you if a claim is ever disputed.
Doing this process manually, or piecing together different tools, isn't always practical at scale, though. Shops that run efficient ADAS operations tend to rely on software that connects every step of the workflow, from calibration identification through to reimbursement.
Revv is built to do exactly that, from the first estimate to the final claim. It automatically identifies required calibrations and OEM procedures at the as-built level during blueprinting, so the right scope is in place before work begins and nothing gets picked up as a supplement later.
As the repair moves through the shop, Revv captures scans, setup, and calibration results in real time, building a complete documentation file without anyone having to reconstruct it at the end. When it's time to get paid, Revv packages everything in the format insurers expect, so there are fewer questions and faster reimbursement.
The bottom line
A clean scan and a properly calibrated vehicle aren't the same thing. The shops that understand that distinction and build it into every repair are the ones turning ADAS work into a reliable revenue line.
As ADAS technology continues to spread across more makes, models, and repair types, the volume of calibration work coming through your shop will only grow. The shops investing in the right process now are the ones best positioned to capture that opportunity as it compounds.
Revv helps shops build exactly that process, from calibration identification at blueprinting through to insurance reimbursement. Book a demo today to see Revv in action.