Table of Contents
A lot of traditional automotive issues will display dashboard warnings. You might have customers coming in because their check engine light is on, or because they realized there was a nail in their tire thanks to a tire pressure warning. Both customers and technicians can use dashboard indicators to help flag potential problems.
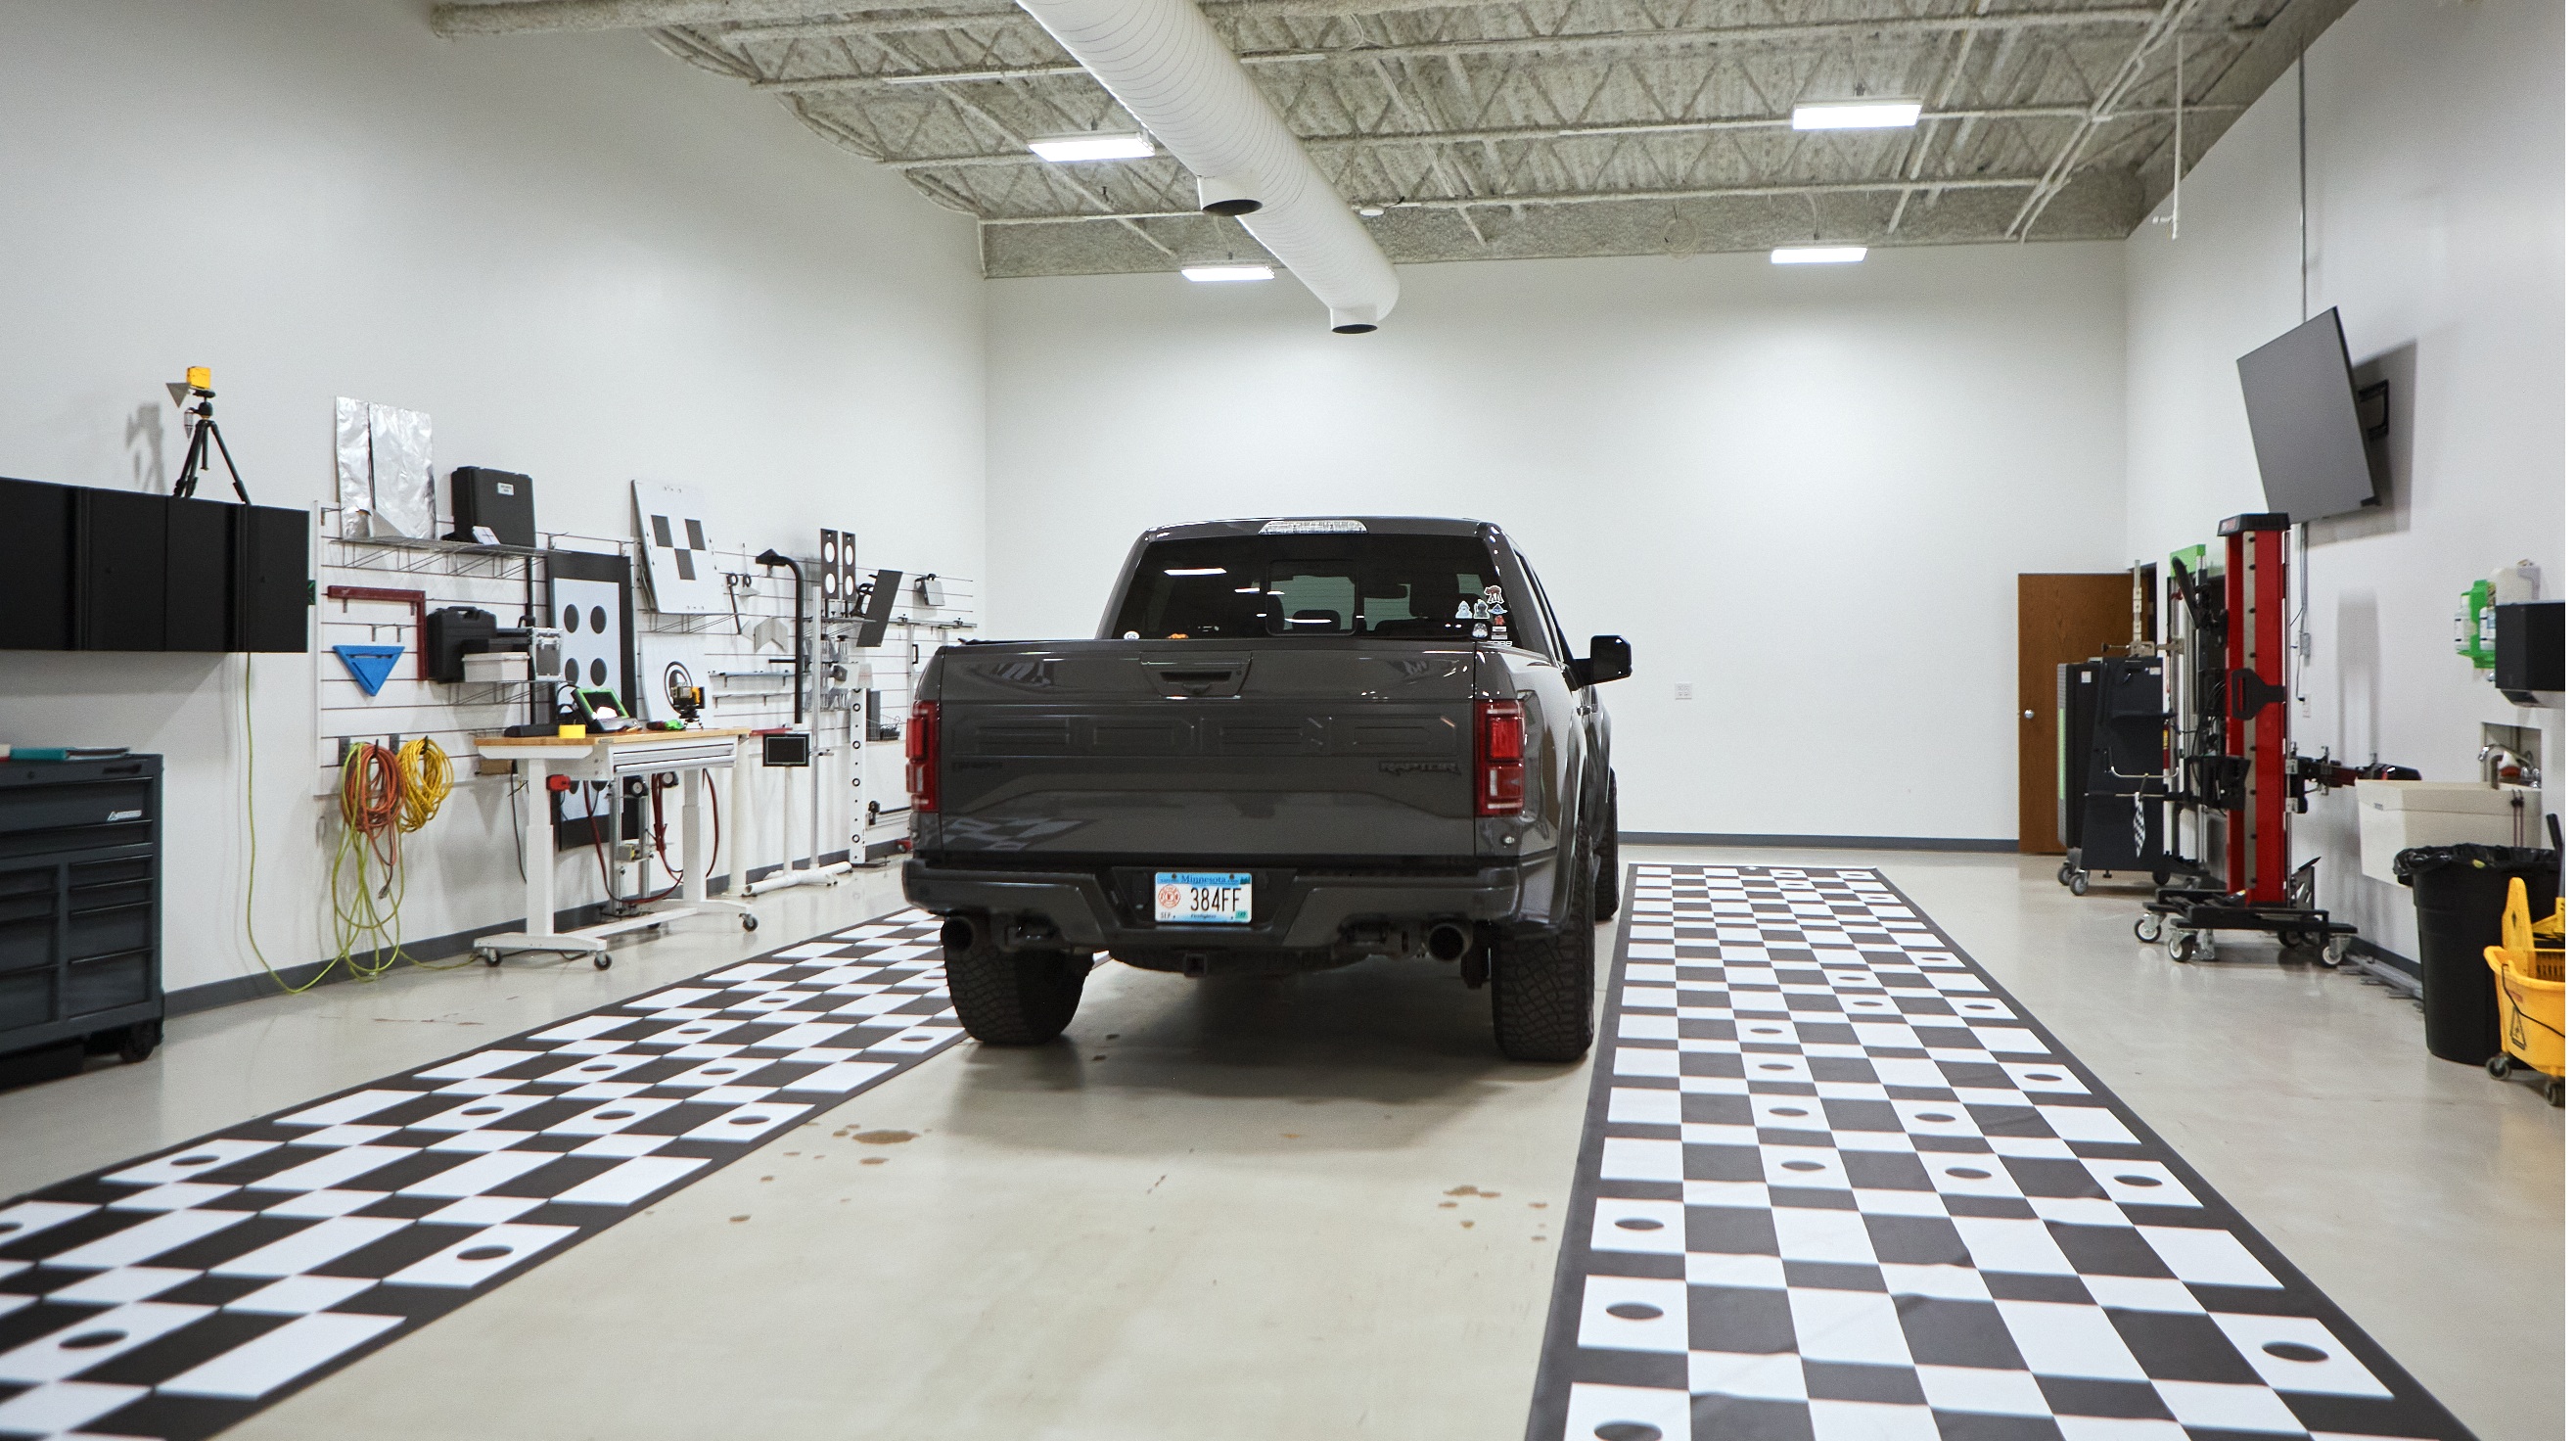
ADAS systems, however, present new challenges. While some systems may set off dashboard alerts, sometimes they don’t. A camera system that’s off be as little as a millimeter might cause a system not to accurately assess the distance of obstacles around the vehicle, for example, but no dashboard warning would go off. And unlike mechanical issues, there are no grinding noises or physical signs— just a safety system that may not function when needed most.
The hidden nature of some ADAS issues makes proper diagnostic equipment essential for every shop. Without the right tools and procedures, technicians can unknowingly return vehicles to customers with compromised safety systems, creating liability risks and missing billable repair opportunities. They need diagnostic tools to troubleshoot issues thoroughly.
This post will explain how to effectively use diagnostic scanning for ADAS systems, interpret dashboard warnings correctly, and determine exactly which calibrations are required to restore full system functionality.
Understanding ADAS diagnostic codes
ADAS diagnostic trouble codes differ significantly from traditional engine or transmission codes, partially because they often indicate system status rather than component failures. While a traditional P0301 code clearly indicates a cylinder misfire, ADAS codes might signal anything from a temporary alignment issue to a complete sensor failure.
Modern vehicles can generate dozens of ADAS-related codes after seemingly minor repairs. A windshield replacement might trigger codes for the forward-facing camera, automatic emergency braking system, lane departure warning, and adaptive cruise control—even when no components were actually damaged.
The challenge lies in understanding which codes represent actual problems requiring parts replacement and which simply indicate that calibration procedures need to be performed. Some codes clear automatically once proper calibration is completed, while others require specific reset procedures or component replacement.
ADAS diagnostic codes typically fall into several categories:
- Calibration-required codes: Indicate that sensors need to be realigned or recalibrated but don't necessarily point to damaged components. These codes often appear after repairs involving sensor mounting points, suspension work, or windshield replacement.
- Communication codes: Suggest problems with data transmission between modules rather than sensor failures. These might indicate wiring issues, software conflicts, or temporary communication interruptions that can often be resolved through proper diagnostic procedures.
- Component failure codes: Point to actual hardware problems requiring parts replacement. These codes typically persist even after calibration attempts and often include specific sensor identification information.
- System disabled codes: Indicate that entire ADAS features have been automatically deactivated due to detected faults. These require systematic diagnosis to determine whether the underlying issue involves calibration, communication, or component failure.
Interpreting dashboard warning patterns
Dashboard warning lights provide valuable diagnostic information when interpreted correctly, but ADAS warnings can be particularly confusing because multiple systems often share components and communication networks.
Understanding warning light patterns helps technicians prioritize diagnostic efforts and communicate effectively with customers about repair needs. Some warning patterns indicate urgent safety concerns, for example, while others simply notify drivers that certain features are temporarily unavailable.
Warnings may include:
- Single system warnings: Typically indicate isolated issues with specific ADAS features. For example, a standalone adaptive cruise control warning might suggest a problem with radar sensors or calibration, while other safety systems remain functional.
- Multiple related warnings: Often point to shared component issues or communication problems affecting several systems simultaneously. When lane keeping assistance, automatic emergency braking, and adaptive cruise control all show warnings together, the problem likely involves the forward-facing camera or central processing module.
- Cascading warning patterns: Occur when one system failure triggers warnings in dependent systems. A faulty steering angle sensor might cause warnings in lane keeping assistance, electronic stability control, and parking assistance systems that all rely on steering input data.
- Intermittent warning behavior: Suggests calibration issues, loose connections, or environmental factors affecting sensor operation. These patterns require careful documentation and systematic testing to identify root causes.
The timing of warning appearance also provides diagnostic clues. Warnings that appear immediately after repairs typically indicate calibration requirements, while warnings that develop gradually might suggest component degradation or environmental contamination.
Diagnostic scanning best practices
Effective ADAS diagnostic scanning requires systematic approaches that go beyond simply reading fault codes. The interconnected nature of modern safety systems demands comprehensive testing procedures that evaluate system interactions and dependencies.
Pre-repair scanning establishes baseline system status before beginning work and helps identify pre-existing issues that might complicate repairs. This documentation protects shops from liability and ensures customers understand the full scope of work needed.
Post-repair scanning verifies that repairs were completed successfully and identifies any additional calibrations or adjustments needed. However, this scanning should occur both immediately after repairs and after calibration procedures are completed.
System-specific testing involves using diagnostic scanner functions to activate individual ADAS components and verify proper operation. This might include commanding radar sensors to perform self-tests, activating camera systems to check field of view, or cycling through automatic emergency braking routines.
The order of diagnostic scanning
When performing diagnostic scans on ADAS systems, consider the following sequence:
- Start with global system scans to identify all fault codes across vehicle networks. This comprehensive approach ensures no related issues are missed and provides a complete picture of system status.
- Document all codes before clearing any faults, including code descriptions, occurrence patterns, and environmental conditions when codes were set. This information becomes valuable if problems persist or return after repairs.
- Clear codes systematically and verify which ones return immediately versus those that require specific conditions to reset. Codes that return immediately often indicate active problems requiring immediate attention.
- Perform functional tests of individual ADAS features using scanner capabilities to command system operations and verify responses. This testing helps distinguish between communication issues and actual component failures.
Determining calibration requirements
Perhaps the most challenging aspect of ADAS diagnostic work involves determining exactly which calibrations are required after repairs and in what sequence they should be performed. Different manufacturers have varying requirements, and these procedures can change with software updates or technical bulletins.
Diagnostic scanners provide valuable information about calibration needs, but this information must be interpreted alongside manufacturer-specific procedures and position statements. As covered in our guide to OEM documentation requirements, some calibrations are mandatory after certain repairs, while others are recommended or conditional based on diagnostic findings.
- Manufacturer position statements: Often supersede information provided by generic diagnostic scanners and specify exact calibration requirements for different repair scenarios. These documents clarify when calibrations are required, which procedures must be followed, and what sequence should be used for multiple calibrations.
- VIN-specific requirements: Ensure that calibrations are performed according to the exact configuration and software version installed in each vehicle.
- Repair-specific procedures: Vary based on the type of work performed and which components were disturbed during repairs. A simple headlight replacement might require different calibrations than suspension work or structural repairs involving sensor mounting points.
The most reliable approach to determining calibration requirements involves combining diagnostic scanner information with current OEM procedures and position statements. The scanner can help you identify issues, while a tool like Revv will provide VIN-specific OEM documentation for calibration procedures.
Integration with repair workflows
Successful ADAS diagnostic scanning requires integration with existing shop workflows rather than treating it as a separate process. This integration ensures consistent procedures, proper documentation, and efficient use of diagnostic time.
Work order planning should include ADAS diagnostic time estimates based on the type of repair being performed and the systems potentially affected. This planning helps provide accurate customer estimates and ensures adequate time is allocated for comprehensive testing.
Technician assignments might consider ADAS diagnostic expertise when distributing work, as these procedures often require specialized knowledge and experience with specific equipment and software platforms.
Quality control processes should verify that all required calibrations were identified through diagnostic scanning and completed according to manufacturer specifications. This verification helps ensure customer safety and shop liability protection.
Customer communication should explain diagnostic findings in terms customers can understand, focusing on safety implications and the importance of completing all required calibrations rather than technical details about fault codes.
Maximizing diagnostic efficiency
If you want to ensure that your repairs are thorough and all necessary ADAS calibrations have been done correctly, you need comprehensive ADAS diagnostic scanning and calibration assessment processes. This is essential to keep customers safe, protect your business against liability concerns, and maintain profitability. Need we say more?
Effective ADAS diagnostics require the right combination of diagnostic equipment and current manufacturer information. Having sophisticated scanners is only valuable if technicians can interpret results and access current calibration procedures for any required work.
Revv streamlines ADAS diagnostic workflows by providing instant access to VIN-specific calibration requirements and procedures. When diagnostic scanning reveals calibration needs, Revv ensures you have current manufacturer procedures and can identify all required calibrations for each vehicle.
Book a demo today to see how Revv can improve your ADAS diagnostic efficiency while ensuring you never miss required calibrations.